Showing posts with label bags. Show all posts

10/20/2011

The DON’T DO list, pt 1, Shipping

As seasoned Etsy sellers, we’ve learned what you need to do to succeed and thrive. Our most valuable lessons have come from making and observing costly mistakes, so don’t not read this list, as members share the best  from their personal DON’T DO lists.

When you are SHIPPING:

1) DON’T leave a buyer guessing about how and when their package will be arriving.

Jen of SewnNatural advises:

Don't silently take in orders. Once someone places an order, we send them a note (ideally within a few hours) to thank them, confirm their order, the shipping method and timeframe, and let them know we will send them another message as soon as their order ships out. We go over details and shipping info that might not have been noticed by the buyer.
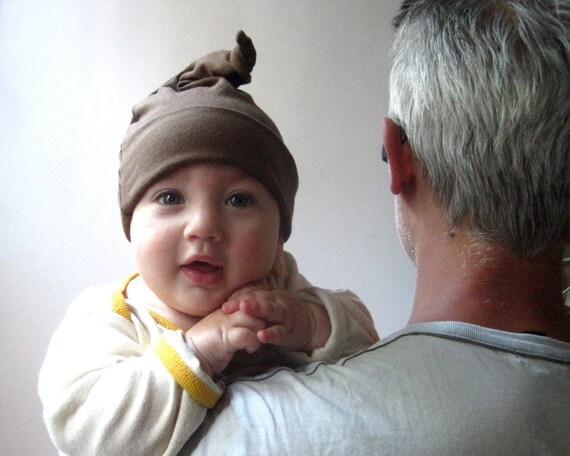
Here is an organic baby hat for sale at SewnNatural, modeled by the cutest baby ever!

2) DON’T assume that a buyer has read all of your shop policies, listing copy, and shop announcement where you’ve specified  vital shipping info.

As Yael of TheJoyofColor says:

Don't take for granted that buyers read all the information in your listing. In your thanks you note to buyer specify again the time it takes for an item to arrive. Especially if you are an international seller, this can save lots of embarrassment.
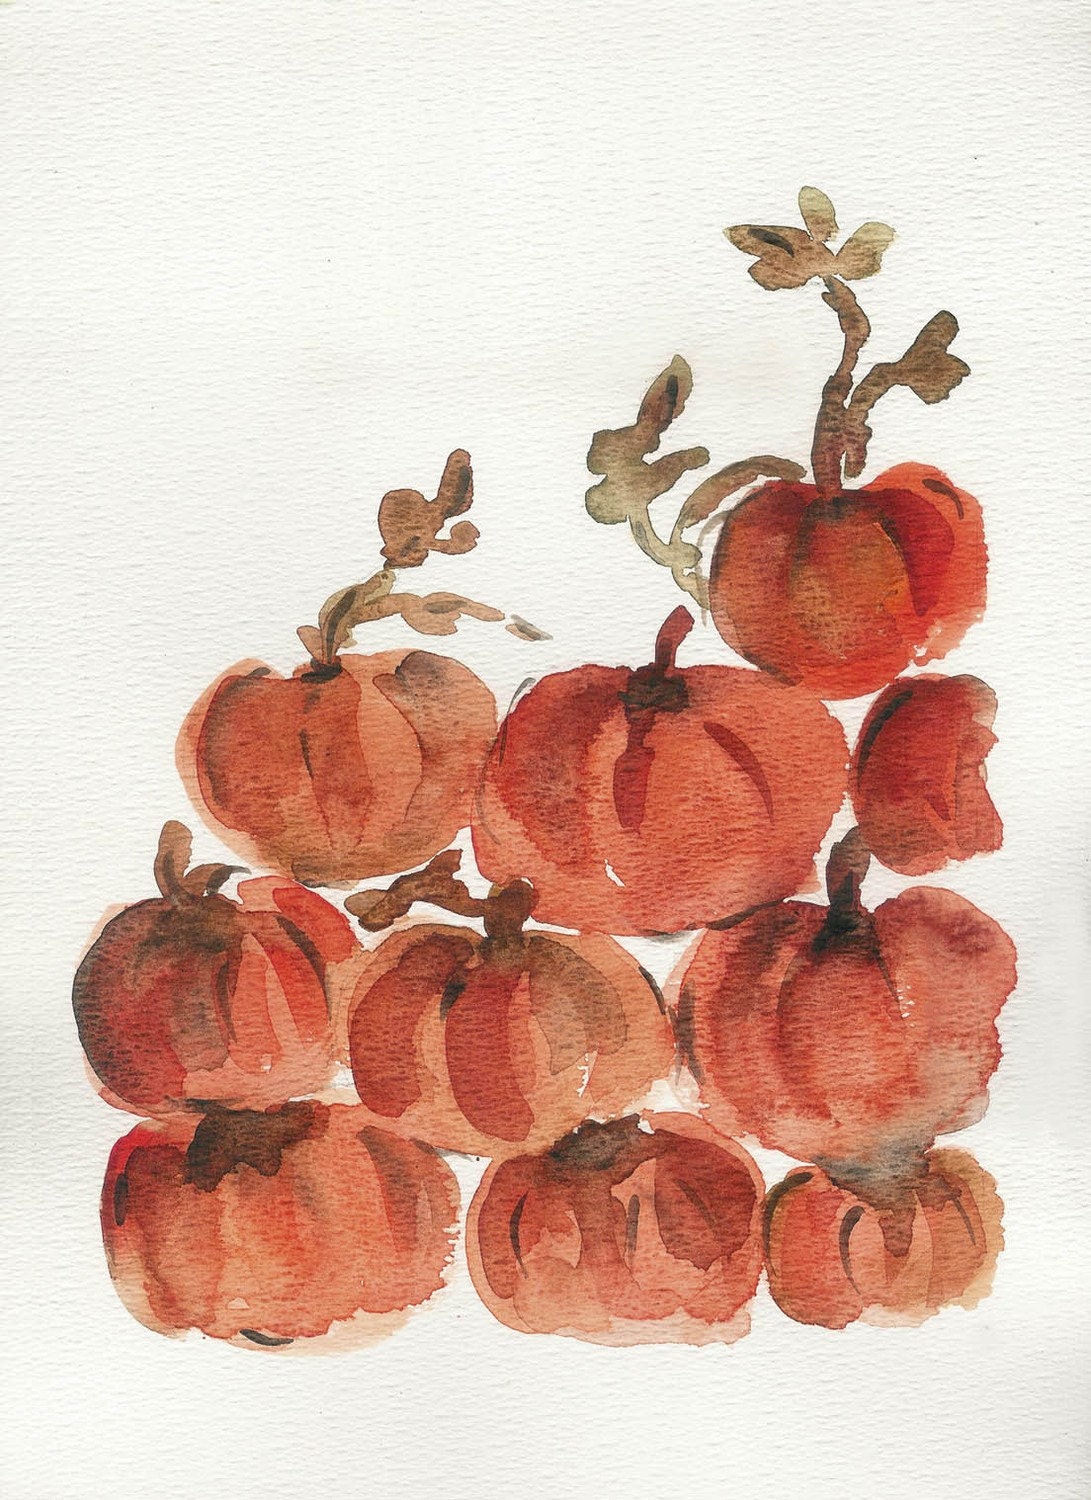
Pumpkin Hill archival print by TheJoyofColor

3) DON’T “gestimate” postage. You will lose repeat business if you inconvenience a buyer.

Toni of TheBuckToothedBunny related:

Ugh, I had to go to the post office today and wait in line to pay the $.43 postage due on an item that I ordered.

4) DON’T save money with inferior packing material. Reused materials are fine as long as they aren’t ragged and dirty.

This is also from Toni:

Don't skimp on shipping materials, I appreciate when my items arrive clean and in good condition.
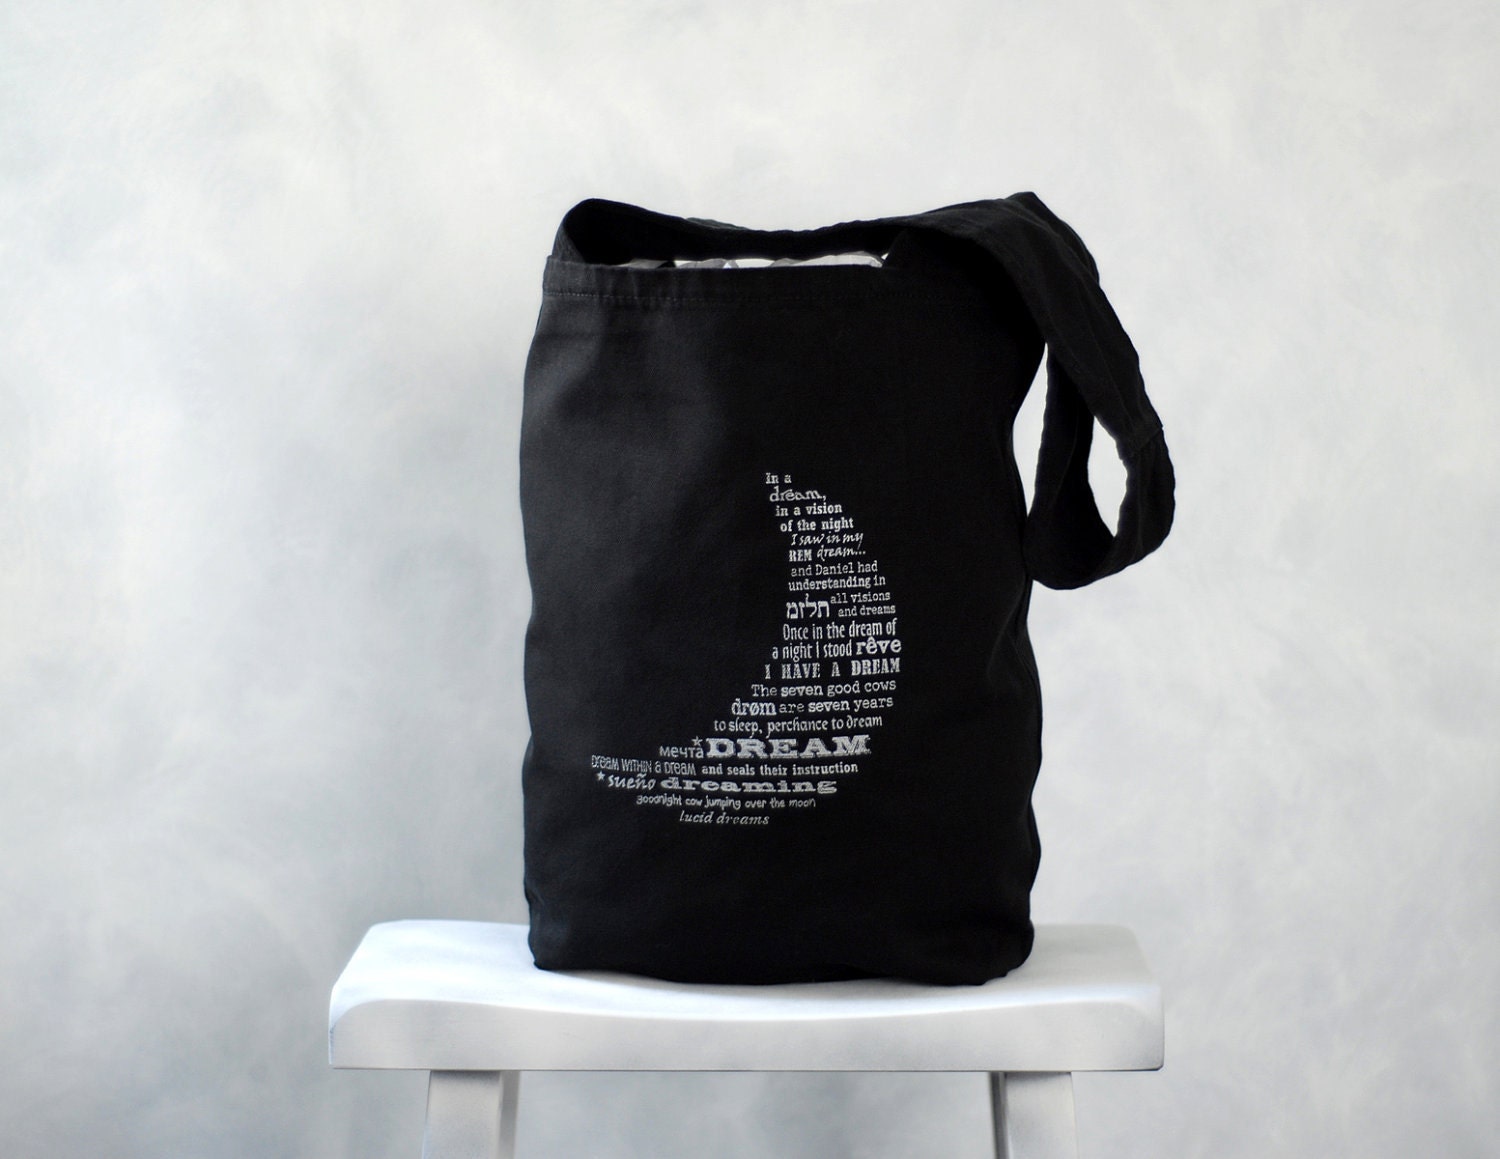
Here is a new hand screened bag from TheBuckToothedBunny

This series will continue tomorrow with the Don’t Do list to avoid negative feedback.

Have you found these tips helpful? Have you learned other shipping Don’t Do’s?

By Lee Wolfe of OneClayBead

5/02/2011

Everyday Handmade: Bags

Hello there! Are you ready for this week's installment of Everyday Handmade? You know I am!

The wonderful makers of the Artisans Gallery Team made my searching very easy this week! I went looking for beautiful, handmade, functional, fashionable bags and did you know that the AG Team has a bag for nearly every occasion!? There are so many beautiful bags, that it was hard to choose my favorites! Here are some of the great ones I found:

For great all around off-the-shoulder totes with beautiful fabrics, lots of pockets, and a modern twist, check out Ikabags. I love this apple green and white french messenger bag---not only is it extremely cute and functional, but it's even water resistant---perfect for a day at the beach! {Find it here}


A great purse to carry along two ways, while dreaming of blue skies comes from Star Bags. This here is called the "La Fleur Bag" in sky blue. {find many other great bags by Star Bags here}


For the absolute ultimate in traveling functionality, check out the amazing bag creations of Mims Maine. These bags can be worn as a backpack or off the shoulder! A favorite that I found is this one below made from upcycled Maine sail cloth! {find it in this section of Mims Maine's shop}.


And for a chic bag that will go with almost anything, check out this Auvenier Burlap Bag from Ira Grant (find it here). I love the combination of soft-toned burlap and dark leather.


And when you need to bring along just a little, {or need a pretty bit of organization inside your larger bag} Bagatelles & Co has a sweet collection of Kitty Mini Purses. This one below is called Apple and Rose. {Bagatelles also has a full line of gorgeous purses of all sizes}.


I hope you enjoyed these bags that will get you {and all of your personal items} where you're going in style! Thanks to the wonderful makers!

6/16/2010

How to Make a Tote or Storage Bag in Six Steps

If you're like me, you've got lots of supplies that keep piling up, despite your attempts to organize. I'm running out of closet space for my fabrics, and my hubby wasn't too pleased when a big pile of fabric fell out on his head as he was reaching for a shirt the other day.

I decided to make a few bags for storage, from a vintage pattern. Because they are flexible, I can squeeze them into small spaces, hang them in the closet or on hooks. I think this is a project for an intermediate level seamstress.


Supplies: I used a stiff black and white canvas fabric for the bag and dark blue linen for the lining. This is a great way to use up some of the remnants you have around the house. If you don't have remnants, you'll need:
3/4 yd fabric (35-45" wide) or 1/2 yd fabric (54" wide)
same amount of lining fabric
stiff iron-on interfacing
4 yds gross grain ribbon, 1" wide
2 yds cord, 1/4" wide
cardboard 5" x 15"
* Seams are 5/8 " wide

Cutting:
Cut a large rectangle 32.5" long and 16.75" wide from bag fabric.
Cut two small rectangles 14.5" long and 6.5" wide from bag fabric.
Cut the same sized rectangles from the lining fabric and from the interfacing.


1. Bag Section
Iron interfacing to wrong side of bag fabric pieces (one large rectangle and two small ones).


Spread out the large rectangle, interfacing side up and place a piece of cardboard 5" x 15" in the middle, over the interfacing. Hold in place with tape. This will be the stiff bottom of your bag. The center of the short side of the cardboard is at 16 1/4" (the halfway point on the long side of the large rectangle).

2. Handles
Cut four pieces of ribbon, 15" long and four pieces of cord, 15" long as well.
Stitch 2 pieces of ribbon together close to one long edge. Do the same with the remaining two pieces of ribbon.
Insert 2 pieces of the cord and stitch the other long edges together using a zipper foot, encasing the cord inside the ribbon.


On the right side of bag, stitch handles to bag.


These are 5 1/4 " from the sides.


3. Lining
On the right sides of the lining fabric, you'll need to mark four small dots in chalk. These will help you later to make the corners of the bag. These dots will form a rectangle which corresponds to the cardboard rectangle you have taped to the inside of your bag.

Spread out the large rectangle of lining (dark blue linen here).
Measure lengthwise from each corner toward the center to 13.5". Mark a small dot in chalk, 5/8" in from the outer edge. Mark the other three dots measuring in from the corners. With right sides together, pin lining to bag. Stitch the two short edges in a 5/8" seam. Turn right sides out, press. Machine baste raw edges of bag and lining together along seam line (5/8").

4. Side Sections
With right sides together, pin lining to side sections of bag. Stitch the short edge on each one. Turn right sides out, press. Machine-baste raw edges of side and lining together along seam-line, around the other three sides, being careful to stitch 5/8" from edge. The corners of your basting will be matched to the small dots you chalked on the bag lining. To make matching easier, place a small dot at each corner.

5. Stitching the Side Sections to the Bag

Clip bag and lining to all four small dots, being careful not to cut basting stitches.

With right sides together, pin side sections to bag, matching small dots. Finish seams, press towards sides. In the photo above, you see the bag spread out flat, both sides sewn on.

With lining sides together, pin all four sides together, having raw edges even and on the outside. Stitch along seam line. Trim seams to 3/8".
6. Finishing
Encase seams in ribbon, turning under ends at top and bottom.


Et voilĂ ! You have a tote or storage bag!

If you have any How to posts you'd like to see here, leave your suggestions in the comments!

Posted by Laura of Blue Terracotta.